

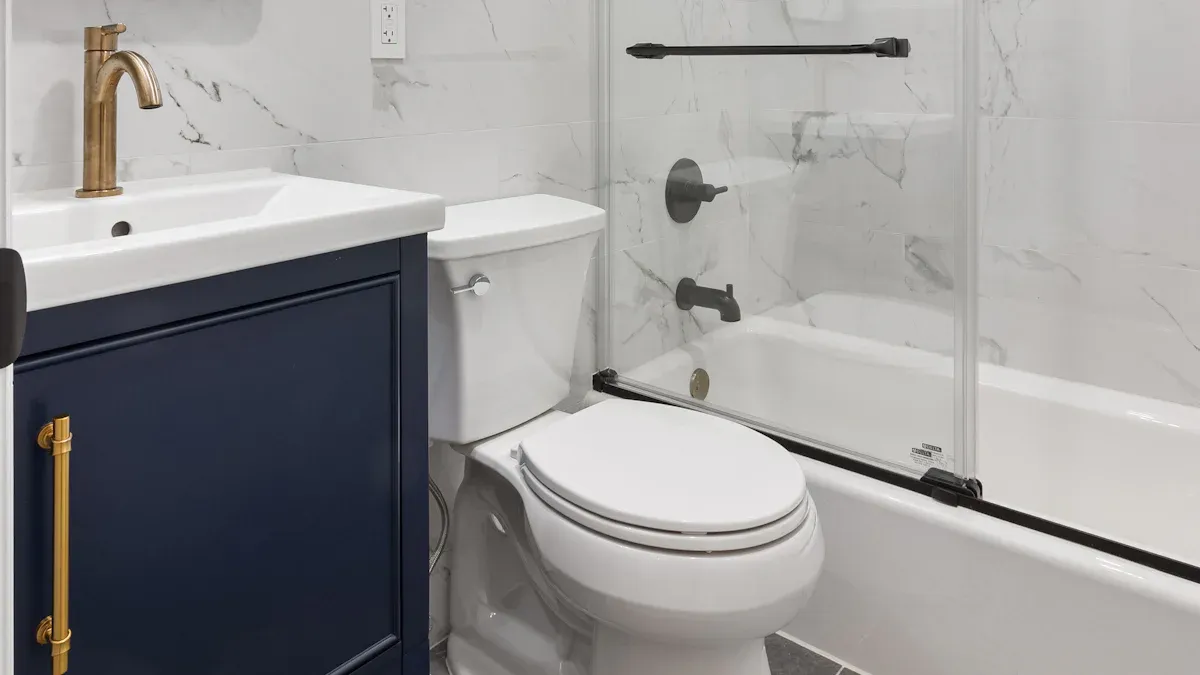
How to Install a Shower Handle Without Stress
Installing a shower handle is easier than most people realize. With the right tools and some preparation, anyone can tackle this task confidently. Essential components such as OEM bathroom hardware and zinc alloy die-casting materials ensure durability. Additionally, understanding the fittings for shower rooms, including the glass door handle, can make the installation process smoother. By following the steps outlined in this guide, individuals can successfully complete the installation of their new Shower Handle and enhance theirshower room fittings.
Key Takeaways
- Gather essential tools like a socket wrench and adjustable wrench for a smooth installation.
- Always turn off the water supply before starting to prevent leaks and flooding.
- Cover the drain with a rag to catch small parts and avoid clogs during installation.
- Remove the old Shower Handle carefully by locating and loosening the set screw.
- Ensure the new shower handle is compatible with the existing valve stem for a secure fit.
- Test the new handle after installation to check for leaks and proper functionality.
- Regularly clean the Shower Handle to prevent mineral buildup and maintain its appearance.
- Call a plumber if you notice persistent leaks, unusual noises, or significant corrosion.
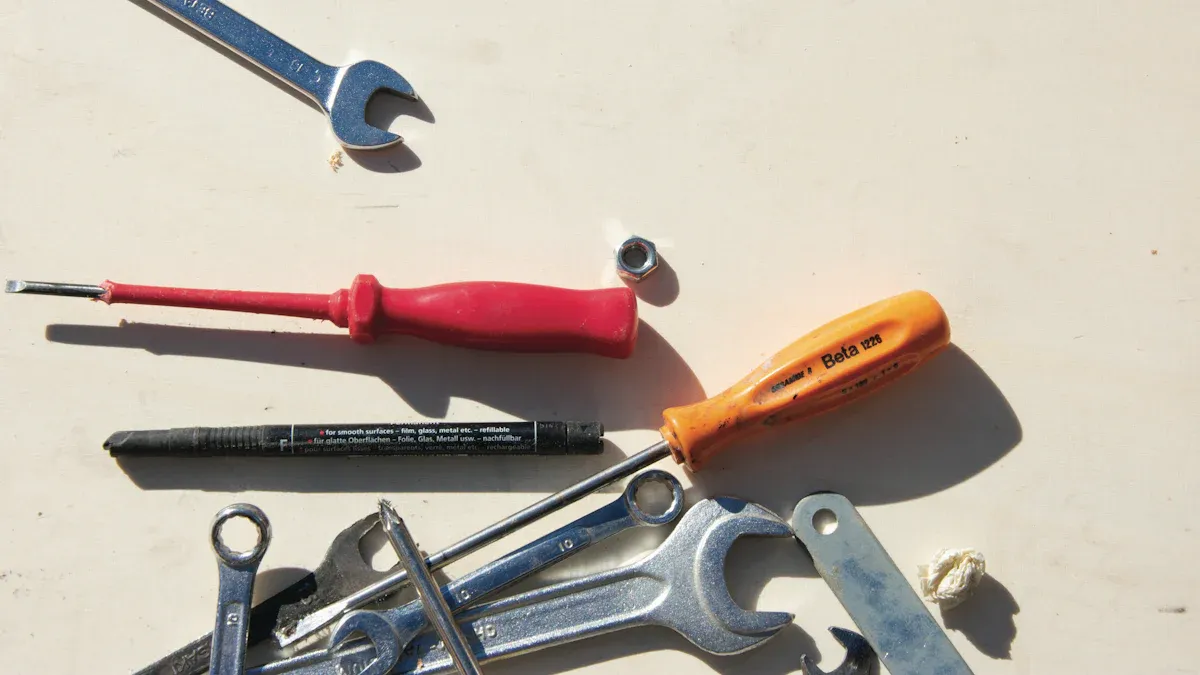
Tools You Will Need
When installing a Shower Handle, having the right tools can make the process smoother and more efficient. Below is a list of essential and optional tools that will aid in your installation.
Essential Tools
To successfully install a Shower Handle, you will need the following essential tools:
- Socket Wrench: This tool is crucial for installing and removing nuts, tub fittings, and shower valves. It simplifies shower repairs and ensures a secure fit.
- Adjustable Wrench: A versatile tool, the adjustable wrench is perfect for smaller tasks, such as replacing showerheads and faucets. Its flexibility allows for easy adjustments to various sizes.
These tools are commonly used in plumbing projects, making them valuable additions to any DIY toolkit.
Optional Tools
While the essential tools will get the job done, having some optional tools can enhance the efficiency and quality of your installation:
- Diverter Valve: This component allows users to switch between a fixed shower head and a handheld shower head. To install, screw the valve onto the shower arm by hand and tighten it gently with a wrench. Ensure the diverter handle is positioned for easy switching during use.
- Handheld Shower Head: Consider models like the KES KP501B, which offers five modes: Trickle, Massage, Relaxing Massage, Full Coverage, and Soothing Massage. The Trickle mode helps save water while maintaining flow and temperature, enhancing efficiency during installation tasks. Made with 8% nickel-content stainless steel, this shower head ensures durability in humid conditions.
By equipping yourself with these tools, you can approach your Shower Handle installation with confidence and ease.
Preparing for Installation
Before beginning the installation of a Shower Handle,proper preparation is essential. Taking a few preliminary steps can prevent complications and ensure a smooth process.
Turn Off Water Supply
The first step in preparing for installation involves turning off the water supply. This action prevents any unexpected water flow during the installation process. To do this, locate the main water shut-off valve, typically found near the water meter or where the water line enters the house.
- Identify the Valve: Look for a round or lever-type valve.
- Turn Off the Valve: Rotate the valve clockwise until it stops. If it is a lever, push it to the perpendicular position.
- Open the Faucet: After shutting off the water supply, open the shower faucet to relieve any remaining pressure in the pipes. This step ensures that no water will leak out when removing the old Shower Handle.
Understanding plumbing basics is crucial for this task. Familiarity with how water flows through the system can help avoid mishaps.
Spread a Rag Over the Drain
Next, spreading a rag over the drain is a simple yet effective precaution. This step serves two purposes: it prevents small parts from falling into the drain and minimizes the risk of clogs.
- Choose a Clean Rag: Select a clean, dry rag that fits snugly over the drain opening.
- Place the Rag: Lay the rag over the drain before starting the installation. This action will catch any screws or small components that may accidentally drop during the process.
By taking these preparatory steps, individuals can set themselves up for a successful installation of their new Shower Handle. Following these guidelines not only enhances safety but also contributes to a more organized workspace.
Step-by-Step Installation Guide
Installing a new Shower Handle involves a few straightforward steps. This guide will walk through the process of removing the old Shower Handle, installing the new one, and testing the installation to ensure everything functions correctly.
Remove the Old Shower Handle
Before installing the new shower handle, it is essential to remove the old one. This process can sometimes present challenges, but with the right approach, it becomes manageable.
Locate the Set Screw
The first task is to locate the set screw that secures the old shower handle. This screw is often hidden beneath a decorative cap or may be located on the side of the handle.
- Inspect the Handle: Look closely at the handle for any visible screws. If you find a decorative cap, gently pry it off with a flathead screwdriver to reveal the set screw.
- Use the Appropriate Tool: Depending on the type of screw, you may need a hex key or a screwdriver to loosen it.
Tip: If the handle feels stuck, mineral buildup or corrosion may be the culprit. In such cases, applying a penetrating oil can help loosen the components.
Pull Off the Old Handle
Once the set screw is removed, gently pull the old handle off the valve stem. If it resists, check for any remaining screws or corrosion that may be holding it in place.
- Common Difficulties:
- Mineral buildup can make handles difficult to operate.
- Corroded components may prevent easy removal.
- Specific tools may be required for certain models.
Install the New Shower Handle
With the old handle removed, it is time to install the new shower handle. This step is crucial for ensuring a secure and functional installation.
Ensure Compatibility with Valve Stem
Before attaching the new handle, confirm that it is compatible with the existing valve stem.
- Check Specifications: Review the specifications of the new shower handle to ensure it matches the valve stem size and type.
- Align Properly: Position the handle over the valve stem, ensuring it fits snugly.
Secure with Set Screw
After aligning the new handle, secure it in place using the set screw.
- Insert the Set Screw: Use the appropriate tool to tighten the set screw. Ensure it is snug but avoid overtightening, which could damage the handle or valve.
- Replace Decorative Cap: If applicable, snap the decorative cap back into place to conceal the set screw.
Test the Shower Handle Installation
After completing the installation, it is essential to test the new shower handle to ensure it operates correctly.
Turn On Water Supply
Restore the water supply by turning the main valve counterclockwise.
- Open the Faucet: Turn on the shower faucet to allow any air to escape from the pipes.
- Check for Functionality: Test the handle to ensure it operates smoothly.
Check for Leaks
Finally, inspect the installation for any leaks.
- Observe the Handle: Look around the base of the handle for any signs of water leakage.
- Tighten if Necessary: If leaks occur, tighten the set screw or check the alignment of the handle.
By following these steps, individuals can successfully install a new shower handle and enjoy a fully functional shower experience.
Common Challenges and Solutions
Installing a shower handle can present a few common challenges. Understanding these issues and their solutions can help individuals navigate the installation process more smoothly.
Stuck Screws
One of the most frustrating challenges during installation is dealing with stuck screws. These screws can become tight due to corrosion or mineral buildup. When faced with this issue, individuals can use specific tools designed to loosen stubborn screws effectively.
| Tool | Description |
|---|---|
| Basin Wrench | A tool used to tighten and loosen faucet nuts, featuring circular jaws and a screwdriver-style end. |
Using a basin wrench can provide the leverage needed to break free stuck screws. If the screw remains resistant, applying a penetrating oil can help. This oil seeps into the threads, reducing friction and making it easier to turn the screw.
Tip: Always allow the penetrating oil to sit for a few minutes before attempting to loosen the screw again. This waiting period can significantly improve the chances of success.
Loose Handle Issues
Another common issue is a loose shower handle. This problem can arise from several factors, including:
- Corrosion of the shower valve components.
- Mineral deposits affecting the valve's operation.
- Misalignment of internal parts within the valve.
These factors can lead to symptoms such as grinding or stiffness when turning the handle, indicating potential valve failure. To address loose handle issues, individuals should first check the set screw. Tightening it can often resolve the problem. If the handle remains loose, inspecting the valve for corrosion or mineral buildup is essential. Cleaning these components can restore proper function.
In some cases, misalignment may require adjusting the handle's position on the valve stem. Ensuring that the handle fits snugly can prevent future issues.
By being aware of these common challenges and their solutions, individuals can approach the installation of a shower handle with greater confidence. Addressing stuck screws and loose handles promptly can lead to a more efficient and satisfying installation experience.
Maintenance Tips for Shower Handle Longevity
Maintaining a shower handle is essential for ensuring its longevity and optimal performance. Regular cleaning and periodic checks can prevent issues and enhance the overall shower experience.
Regular Cleaning
Cleaning the shower handle regularly prevents buildup and ensures proper function. It is advisable to perform thorough cleaning at least once a month. Additionally, weekly cleanings are essential to prevent serious buildup. Here are some recommended cleaning practices:
- Use a mild soap and water solution for most metal finishes.
- Mix a small amount of dish soap with warm water. Dampen a soft cloth and gently wipe down the handle.
- For stubborn water spots or mineral buildup, a diluted vinegar solution (equal parts white vinegar and water) can be effective.
- Always test any new cleaning product on an inconspicuous area first to ensure it does not damage the finish.
- Avoid abrasive pads or harsh scrubbing brushes to prevent scratching the surface.
When cleaning, it is crucial to avoid harsh chemicals or abrasive cleaners, as they can damage finishes. Specifically, do not use products containing hydrochloric acid, formic acid, chlorine bleach, or acetic acid. Mixing cleaning products or spraying them directly on the shower can also lead to damage.
Periodic Checks
Periodic checks are vital for identifying potential issues before they escalate. Regularly inspecting the shower handle and its components can help maintain functionality. Here are some signs that indicate a shower handle needs attention:
- Inspect the shower valve for signs of wear, corrosion, or mineral buildup.
- Consider installing a water softener to reduce mineral deposits in your plumbing system.
- Use high-quality replacement parts that are compatible with your specific valve model.
- Schedule regular plumbing inspections to identify and address potential issues.
By following these maintenance tips, individuals can ensure their shower handle remains in excellent condition. Regular cleaning and periodic checks not only enhance the longevity of the handle but also contribute to a more enjoyable shower experience.
When to Call a Professional
Signs of Complicated Issues
Sometimes, DIY installations can lead to complications that require professional assistance. Recognizing these signs early can save time and prevent further damage. Here are some indicators that suggest it may be time to call a plumber:
- Persistent Leaks: If water continues to leak from the handle or surrounding areas after tightening connections, this may indicate a more serious issue with the plumbing.
- Corroded Components: Visible corrosion on pipes or fittings can compromise the integrity of the plumbing system. This condition often requires replacement parts or specialized repairs.
- Unusual Noises: Strange sounds, such as banging or whistling, during water flow can signal air trapped in the pipes or other plumbing issues that need professional evaluation.
- Low Water Pressure: A sudden drop in water pressure may indicate blockages or leaks elsewhere in the plumbing system, necessitating expert diagnosis.
- Inconsistent Water Temperature: Fluctuating water temperatures can point to problems with the water heater or mixing valve, which may require professional intervention.
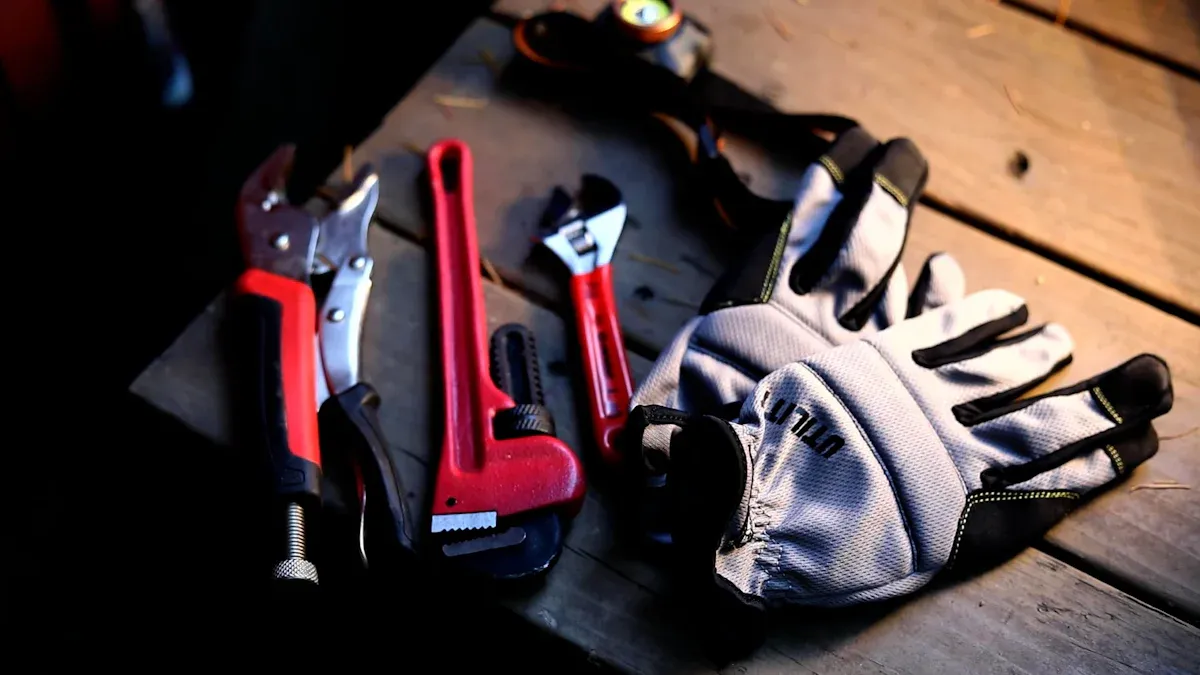
Safety Concerns
Safety should always be a priority during any home improvement project. When installing a shower handle, individuals must take specific precautions to avoid accidents. Here are some recommended safety measures:
- Turn Off the Water Supply: Always start by turning off the main water valve to prevent leaks and flooding.
- Wear Safety Glasses: Protect your eyes while working with tools and plumbing parts. This simple step can prevent injuries from flying debris or accidental slips.
- Check for Leaks: After installation, test all connections for leaks before sealing everything up. This precaution helps ensure that no water damage occurs after the project is complete.
Tip: If any of these safety concerns arise during the installation process, it is wise to consult a professional. They possess the expertise to handle complex plumbing issues safely and effectively.
By recognizing signs of complicated issues and adhering to safety precautions, individuals can make informed decisions about when to seek professional help. Taking these steps not only enhances personal safety but also ensures the longevity and functionality of the shower handle installation.
Installing a shower handle involves several key steps that ensure a successful outcome. Here’s a quick summary:
- Gather the Right Tools: Essential tools include a socket wrench and an adjustable wrench.
- Prepare for Installation: Always turn off the water supply and cover the drain.
- Follow the Installation Steps: Remove the old handle, install the new one, and test for leaks.
Taking time to follow this guide leads to the best results. DIY projects can be both rewarding and fulfilling. Many users have found success with various shower handle models, as shown below:
| Shower Head Model | Pros | Cons |
|---|---|---|
| Speakman S-2251 | Easy to install, classic look | None found |
| Briout Handheld | High water pressure, optional flow restrictor | None found |
| Culligan WSH-C125 | Great performance, includes a filter | Tough to turn the handle |
| AquaDance 3312 | Comes in six different finishes | Low water pressure |
| Delta Handshower 75700 | Simple design, seven spray settings | Materials feel cheap, doesn't sit well in holder |
Embrace the challenge and enjoy the satisfaction of completing your own home improvement project!
FAQ
What tools are essential for installing a shower handle?
Essential tools include a socket wrench and an adjustable wrench. These tools help secure fittings and facilitate the installation process.
How do I know if my new shower handle is compatible?
Check the specifications of the new handle against the existing valve stem. Ensure they match in size and type for proper installation.
What should I do if the old handle is stuck?
Apply penetrating oil to loosen stuck screws. Allow it to sit for a few minutes before attempting to remove the handle again.
How can I prevent leaks after installation?
Ensure all connections are tight and properly aligned. Test the handle after installation to check for leaks and make adjustments as needed.
How often should I clean my shower handle?
Clean the shower handle at least once a month. Regular cleaning prevents mineral buildup and maintains the handle's appearance and functionality.
When should I consider calling a plumber?
Call a plumber if you notice persistent leaks, unusual noises, or significant corrosion. These signs may indicate more complex plumbing issues requiring professional assistance.
Can I install a shower handle myself?
Yes, many homeowners can install a shower handle themselves. Following a clear guide and having the right tools makes the process manageable.
What safety precautions should I take during installation?
Always turn off the water supply before starting. Wear safety glasses to protect your eyes from debris, and check for leaks after installation.