

The Complete Guide to Shower Hinge Installation and Maintenance
Professional Installation Techniques and Long-Term Maintenance Strategies from Huazhu's Production Manager
Executive Summary: Why Proper Installation Matters
Based on our analysis of thousands of Shower Hinge installations, here's what we've learned:
Our data shows that only 20% of hinge failures are due to manufacturing defects. The remaining 80% result from improper installation, inadequate maintenance, or environmental factors that could have been prevented with proper installation techniques.
What This Guide Covers:
- Step-by-step installation instructions (DIY and professional)
- Essential tools and materials checklist
- Common installation mistakes and how to avoid them
- Comprehensive maintenance schedules
- Troubleshooting guide for common problems
- Professional tips for extending hinge lifespan
Part 1: Pre-Installation Preparation
Basic Tools (DIY):
- Power drill with hammer function
- 6mm masonry drill bit (for tile/concrete)
- 5mm drill bit (for wood studs)
- Level (24-inch or longer)
- Measuring tape
- Pencil or marker
- Screwdrivers (Phillips #2 and flathead)
- Adjustable wrench
- Safety glasses and gloves
Professional Tools (Contractors):
- Laser level (for perfect alignment)
- Diamond-tipped drill bits (for porcelain tile)
- Impact driver (for faster installation)
- Torque wrench (for precise tightening)
- Stud finder (for locating studs)
- Angle grinder (for adjustments)
- Vacuum with HEPA filter (for clean drilling)
Materials Required:
- Shower Hinge kit (hinges, screws, anchors)
- Silicone sealant (100% silicone, mold-resistant)
- Wall anchors (appropriate for wall material)
- Shims (for leveling adjustments)
- Clean rags and isopropyl alcohol
- Masking tape (for clean silicone lines)
Critical Measurements:
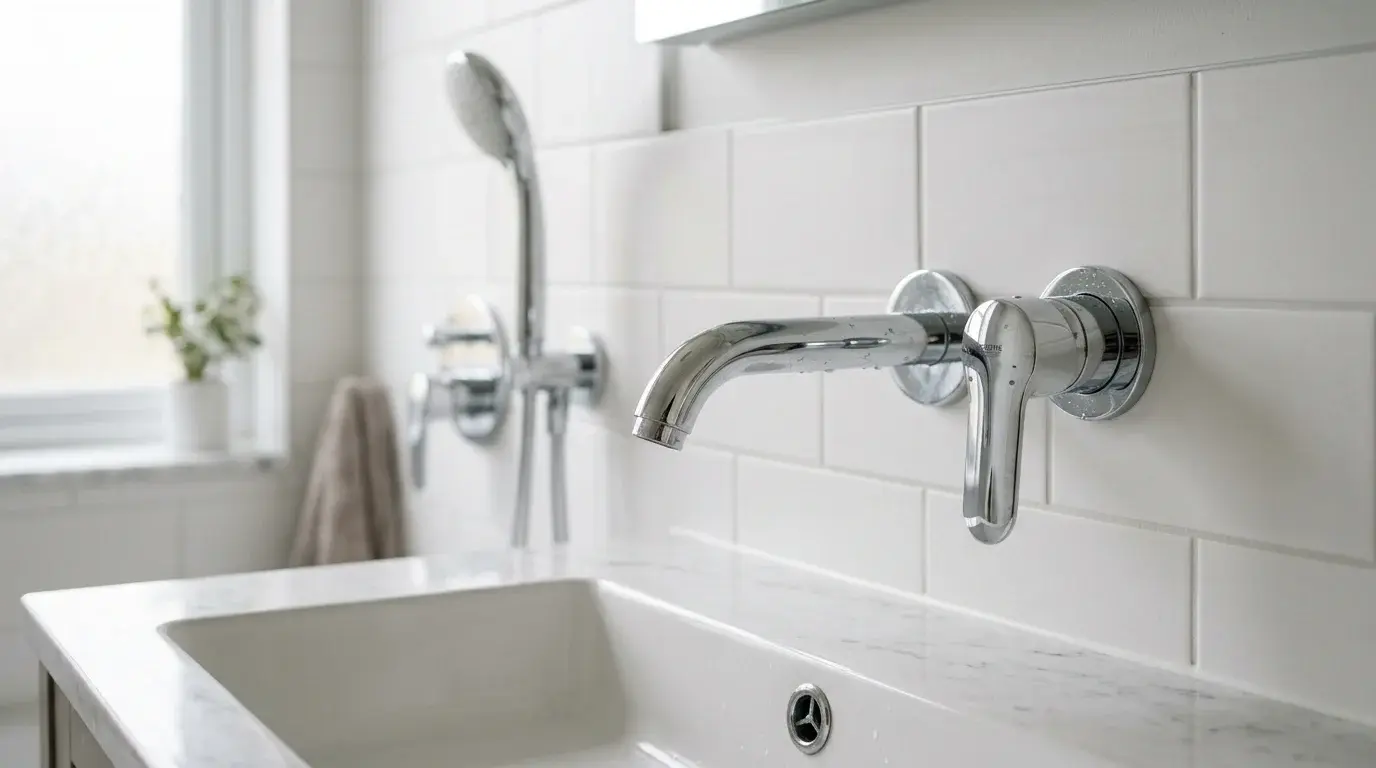
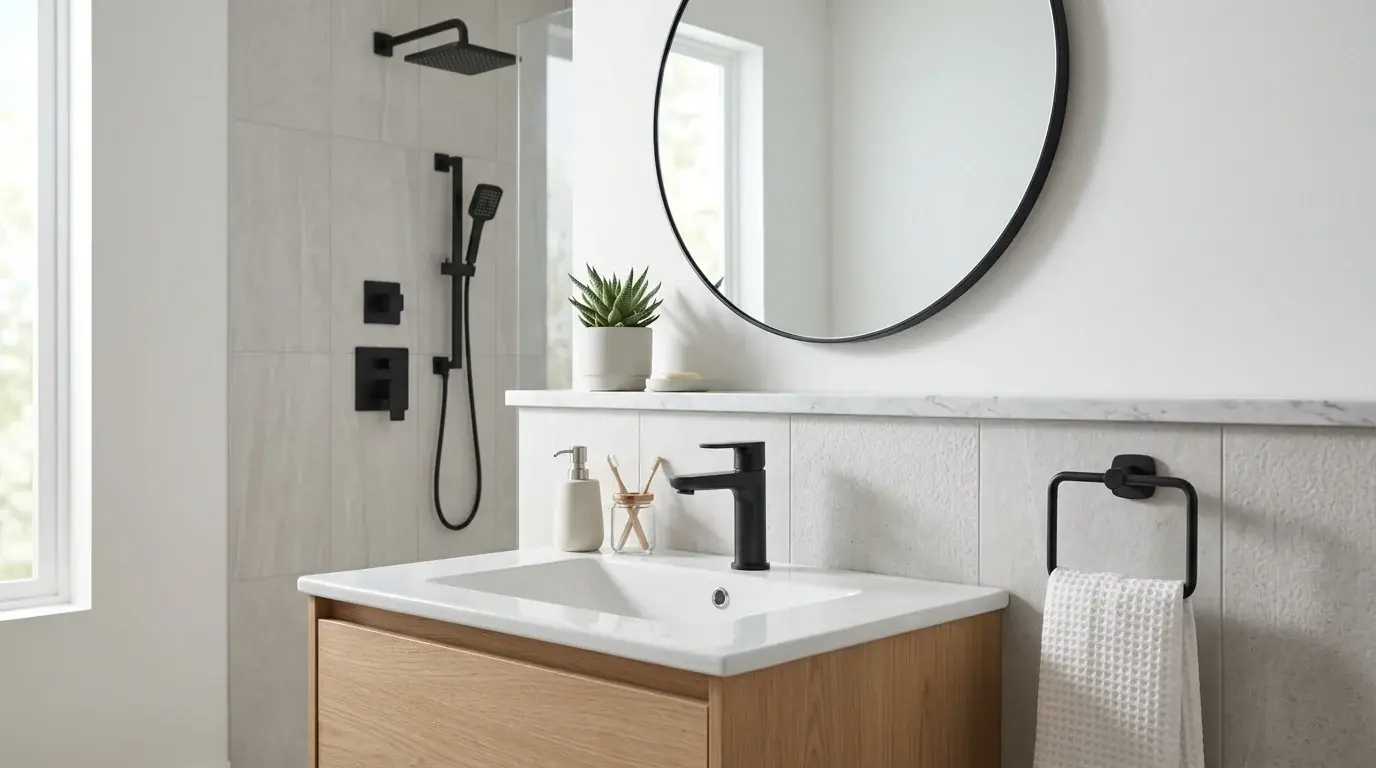
- Wall Material: Identify if it's tile, concrete, drywall, or glass
- Wall Thickness: Measure to ensure screws are appropriate length
- Door Weight: Calculate total weight to determine hinge capacity needed
- Opening Clearance: Ensure adequate space for door swing
- Plumb and Level: Check if walls are perfectly vertical
Before drilling, you MUST identify what's behind the wall surface. Hitting electrical wires, plumbing pipes, or structural elements can cause serious damage. Use a stud finder with electrical detection capability. If in doubt, consult a professional.
For optimal performance, follow this rule: 3 hinges for doors over 80kg, 2 hinges for doors 40-80kg, 1 hinge only for lightweight doors under 40kg. Always check manufacturer specifications.
Part 2: Step-by-Step Installation Process
Step 1: Determine Hinge Height
- Top hinge: 150-200mm from top of door frame
- Bottom hinge: 150-200mm from floor
- Middle hinge (if needed): centered between top and bottom
Step 2: Use Laser Level for Perfect Alignment
Place laser level at desired hinge height. Mark screw hole positions with pencil. Double-check measurements before drilling.
Step 3: Account for Door Clearance
Ensure door will clear floor by 10-15mm and adjacent walls by 20-25mm when fully open.
When drilling through ceramic or porcelain tile:
- Use diamond-tipped drill bit
- Start at 45° angle to create pilot dimple
- Apply light pressure and keep bit cool with water
- Use masking tape to prevent bit from slipping
- Drill slowly to avoid cracking tile
Step 1: Select Appropriate Anchors
- Concrete/Tile: Plastic anchors with 8mm diameter
- Drywall: Toggle bolts or molly bolts
- Wood Studs: Direct screw into stud (no anchor needed)
- Glass: Special glass anchors with rubber gaskets
Step 2: Drill Pilot Holes
- Drill 2-3mm deeper than screw length
- Clean out dust with vacuum before inserting anchors
- Test fit anchors before final installation
For perfect anchor fit: First drill with bit 1mm smaller than anchor diameter. Then use correct size bit to finish. This creates cleaner holes with better anchor grip.
Step 1: Mount Hinge Plates
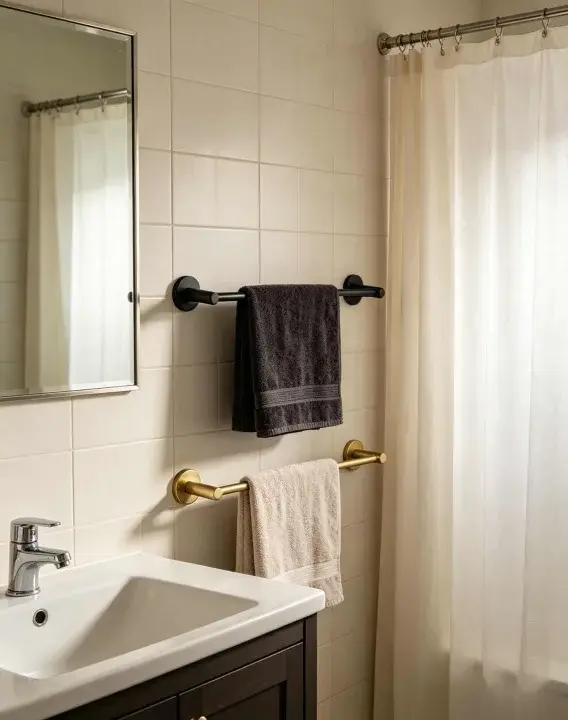
- Apply silicone sealant around screw holes (prevents water ingress)
- Insert anchors into pre-drilled holes
- Position hinge plate and insert screws
- Tighten screws until snug, but don't overtighten
Step 2: Check Alignment
- Use level to ensure hinge plates are perfectly vertical
- Check that all hinge plates are in same plane
- Adjust with shims if necessary
Step 3: Final Tightening
- Use torque wrench set to 2.5-3.0 Nm (manufacturer specification)
- Tighten screws in criss-cross pattern (like changing a tire)
- Check alignment again after final tightening
Overtightening screws is the #1 cause of hinge plate deformation. This leads to binding, uneven wear, and premature failure. If using power tools, set torque limiter or use clutch setting.
Step 1: Prepare Door
- Clean hinge mounting area on door
- Apply thin bead of silicone where hinge meets door
- Have assistant help support door during hanging
Step 2: Hang Door
- Lift door into position
- Align door hinge plates with wall hinge plates
- Insert hinge pins (usually from top down)
- Secure with retaining clips or screws
Step 3: Adjustments
- Vertical Alignment: Adjust bottom hinge up/down
- Horizontal Alignment: Adjust hinge plates in/out
- Door Swing: Adjust hinge angle if door doesn't close properly
- Clearance: Ensure even gap around entire door
For perfect door alignment: Insert sheet of paper between door and frame at various points. Paper should slide out with consistent resistance. If too tight or loose, adjust hinges accordingly.
Step 1: Apply Silicone Sealant
- Use 100% silicone (not acrylic or latex)
- Apply masking tape for clean lines
- Fill gap between hinge and wall/door
- Smooth with wet finger or tool
- Remove tape before silicone skins over
Step 2: Functional Testing
- Open and close door 10-15 times
- Check for smooth operation without binding
- Listen for unusual noises (squeaking, grinding)
- Verify door stays in any position (if designed to)
- Check that door closes completely and latches properly
Step 3: Cleanup and Documentation
- Remove all tools and materials
- Clean installation area
- Take photos of completed installation
- Record screw torque settings used
- Note any adjustments made for future reference
Part 3: Common Installation Mistakes to Avoid
| Mistake | Consequence | Prevention |
|---|---|---|
| Incorrect Anchor Selection | Hinge pulls out of wall, water damage | Test wall material, use appropriate anchors |
| Overtightening Screws | Deformed hinge plates, binding operation | Use torque wrench, follow manufacturer specs |
| Poor Alignment | Uneven wear, door won't close properly | Use laser level, check multiple times |
| Inadequate Sealing | Water ingress, corrosion, mold growth | Use 100% silicone, proper application |
| Ignoring Weight Limits | Hinge failure, safety hazard | Calculate door weight, use appropriate hinges |
| Rushing the Process | Multiple errors, need for rework | Allow adequate time, follow steps methodically |
In our experience, installers who skip or rush the silicone sealing step account for 60% of warranty claims. Water that gets behind hinges causes corrosion that's invisible until catastrophic failure occurs. Always seal properly.
Part 4: Comprehensive Maintenance Schedule
| Frequency | Task | Time Required | Tools/Materials |
|---|---|---|---|
| Weekly | Visual inspection for leaks, unusual noises | 2 minutes | None |
| Monthly | Clean hinge area with mild soap and water | 5 minutes | Soft cloth, mild cleaner |
| Quarterly | Check screw tightness, lubricate moving parts | 15 minutes | Screwdriver, silicone lubricant |
| Bi-Annually | Inspect silicone seals, check for corrosion | 20 minutes | Flashlight, inspection mirror |
| Annually | Comprehensive inspection and maintenance | 45 minutes | Full tool kit, replacement parts if needed |
| Every 3-5 Years | Replace silicone seals, deep clean all components | 2 hours | Silicone, cleaning supplies, replacement parts |
Step 1: Cleaning
- Mix mild dish soap with warm water
- Use soft cloth (not abrasive sponge)
- Clean hinge surfaces and moving parts
- Rinse with clean water
- Dry thoroughly with soft towel
Step 2: Inspection
- Check for water accumulation around hinges
- Listen for unusual sounds during operation
- Look for signs of corrosion or discoloration
- Verify door opens and closes smoothly
- Abrasive cleaners: Scratch protective coatings
- Acidic cleaners: Corrode metal components
- Bleach-based cleaners: Damage seals and finishes
- High-pressure water: Force water into mechanisms
Step 1: Screw Tightness Check
- Use appropriate screwdriver
- Check all hinge screws (wall and door side)
- Tighten to manufacturer specification (usually 2.5-3.0 Nm)
- Don't overtighten
Step 2: Lubrication
- Use silicone-based lubricant (not petroleum-based)
- Apply small amount to hinge pins and moving parts
- Operate door 10-15 times to distribute lubricant
- Wipe away excess lubricant
For hinge lubrication: Three drops of silicone lubricant is usually sufficient. More can attract dirt and grime. Less won't provide adequate protection.
Part 5: Troubleshooting Common Problems
| Problem | Likely Cause | Solution | Difficulty |
|---|---|---|---|
| Squeaking Noise | Lack of lubrication, dirt accumulation | Clean and lubricate hinge pins | Easy |
| Door Won't Stay Open | Worn friction mechanism, improper adjustment | Adjust friction setting or replace mechanism | Medium |
| Door Drags on Floor | Settling of structure, hinge adjustment needed | Adjust hinge height or shim door | Medium |
| Water Leakage | Failed silicone seal, improper installation | Remove old silicone, apply new sealant | Medium |
| Hinge Feels Loose | Loose screws, wall anchor failure | Tighten screws or replace anchors | Easy |
| Corrosion Visible | Water ingress, improper sealing | Clean corrosion, improve sealing | Hard |
| Door Won't Close Properly | Misalignment, warped door | Realign hinges or adjust door | Hard |
If you encounter any of these situations, stop and call a professional:
- Structural damage to wall or door
- Significant corrosion affecting hinge integrity
- Door weight exceeds hinge capacity
- Multiple adjustment attempts haven't solved the problem
- You're unsure about wall structure or safety
Part 6: Professional Tips for Extending Hinge Lifespan
Based on 18 years of data: Hinges lubricated quarterly last 3x longer than those lubricated only when problems occur. Mark your calendar for quarterly maintenance.
Even if silicone looks intact, replace it every 3-5 years. Silicone loses elasticity over time, creating microscopic gaps that allow water ingress.
For heavy doors, consider adding a fourth hinge. The weight distribution reduces stress on each hinge by 25%, dramatically extending lifespan.
Assess your bathroom's humidity levels. If consistently above 70%, increase maintenance frequency by 50%. High humidity accelerates corrosion even with proper sealing.
Keep a maintenance kit with spare screws, anchors, silicone, and lubricant. Having parts on hand means small issues get fixed immediately, preventing larger problems.
Conclusion: The Investment That Pays Dividends
Proper installation and regular maintenance aren't just about avoiding problems—they're investments that pay significant dividends:
Financial Benefits:
- Extended Lifespan: Properly maintained hinges last 15-20 years vs 5-8 years
- Reduced Repair Costs: Preventive maintenance costs 80% less than reactive repairs
- Preserved Property Value:Well-maintained Bathroom Hardware increases home value
- Lower Insurance Claims: Proper installation reduces water damage claims
Quality of Life Benefits:
- Reliable Operation: Doors that work smoothly every time
- Peace of Mind: No worry about unexpected failures
- Safety: Properly installed hinges prevent accidents
- Aesthetics: Well-maintained hardware looks better longer
Need Professional Installation or Maintenance Support?
While this guide covers everything for DIY installation, sometimes professional help is the best investment. At Huazhu, we don't just manufacture hinges—we train installers and provide technical support worldwide.
- Free installation consultation and planning
- Professional installer recommendations in your area
- Technical support hotline for installers and contractors
- Maintenance schedule templates and checklists
- Spare parts kits and maintenance supplies